Merging Internal USB Connectors
Recently I bought a new computer and while assembling it, I ran into a problem where I didn’t have enough internal USB Type A 2.0 (The “normal” rectangle one you gotta flip three times) headers on the motherboard. The outside of the case has one Type C (USB C) and one Type A SuperSpeed(+)? (USB 3.x (the blue one)) port which consumed the respective internal headers on the motherboard. However, the motherboard only has one internal USB 2.0 header. It is a mini-DTX form factor, after all. There are two internal components that require a USB 2.0 header - the AIO CPU cooler, and the NZXT Smart Device V2. I wasn’t happy with only having one or the other plugged in.
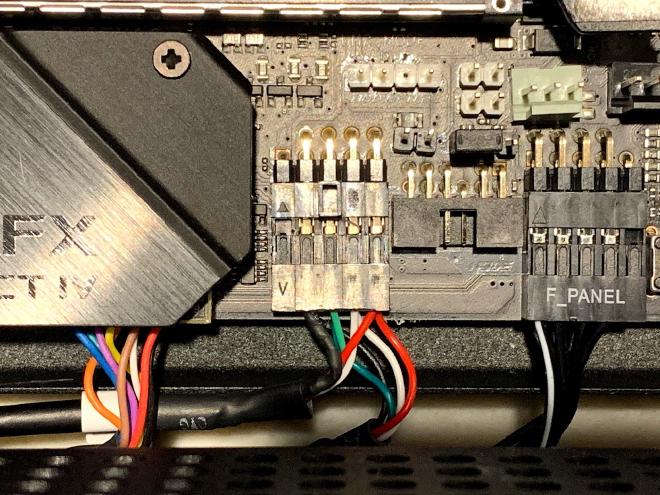
One thing I discovered was that a single internal USB 2.0 header can actually cater for two USB devices. If you check out the Internal USB 2.0 Header Pinout you can see there’s ten pin holes, but USB Type A only has four pins. Well, internally we’ve got two pins for power, two sets of pins for data, two pins for power ground, and then a keyed pin and a ground pin for shield drain. That is to say, USB Type A needs four pins to function, so the eight we have with an internal USB 2.0 header (excluding the keyed and ground pin for shield drain) means that the internal header can service two USB ports. An amazing revelation.
Conveniently, the AIO CPU cooler, and the NZXT Smart Device V2 consume one USB port each. Inconveniently, as isolated components, they’d need to connect to a single USB 2.0 header but only consume one of the ports for functionality while just blocking the other port.
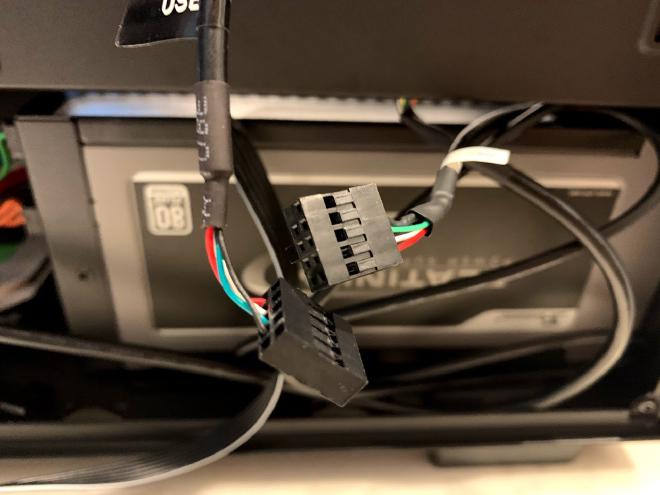
Luckily, taking the pins out and moving them to another connector is not a difficult task. We just need to make sure we maintain power to power, data+ to data+, data- to data-, and ground to ground.
There’s a small wing/flap on the pin that pops out slightly which will hold the pin inside the connector. I used some electronics tweezers to press the pin in, and pulled the cable gently to slide the pin out. Make sure when you put the pin into the new connector that the wing pops out, locking the pin inside the connector.
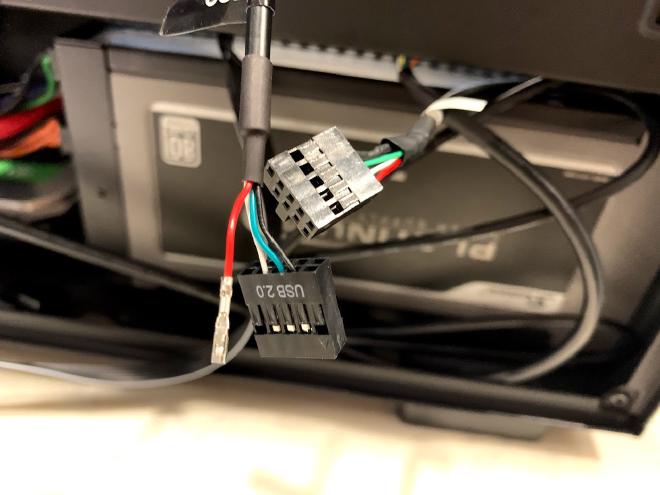
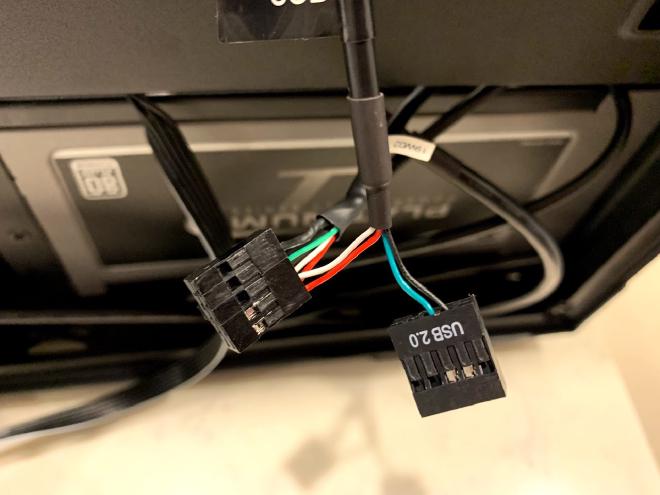
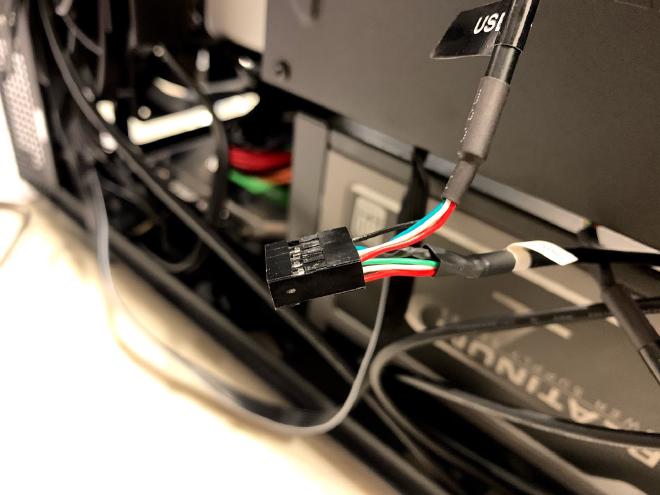
Now I have both devices plugged into a single USB 2.0 header. The only cost involved was ten minutes of searching for a solution, then two minutes to swap the pins. A very tidy solution.
As a side note, USB land is bonkers. Finding the precise terminology was difficult and I’m not even convinced I’ve got it all right. I know people think the USB specification isn’t ok for other reasons, but even at a high level just trying to decipher how to name things was hard. For what it’s worth, I haven’t actually read the specification. Buuuuut, there’s a lot of terminology and ideas which don’t even seem to mean anything - like the blue insert is meant to indicate USB 3.x SuperSpeed/SuperSpeed+ (It’s already ridiculous) but my motherboard has blue and red ones. My computer case has a purple one. I’m sure the manufacturers did that to visually indicate something, or because they reckon it’s more aesthetically pleasing, but it doesn’t mean anything and I suppose technically it’s not USB 3.x SuperSpeed/SuperSpeed+ then. I’m sure someone knows more and will yell at me for being wrong, but yeesh it was not straightforward.
Anyway, at the end of it all, does it really matter that much? Absolutely, it does.